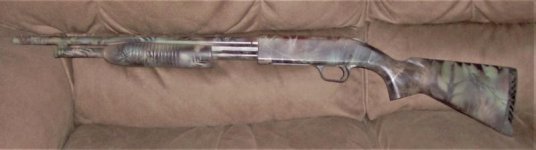
During the pandemic, KT watched a large number of YouTube videos and found many interesting ones on spray painting camo on rifles, shotguns, air rifles, and even pistols. Part art and part practical...the basic premise being that a black gun is readily seen because black is not often seen in nature. Turkey, squirrel and coyote being especially observant...crows too!
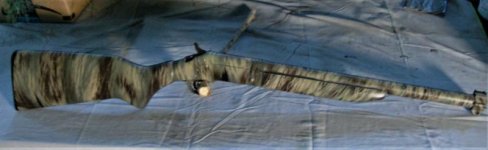
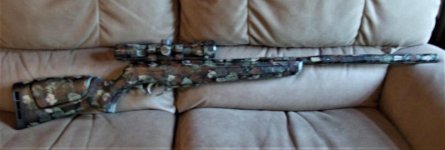
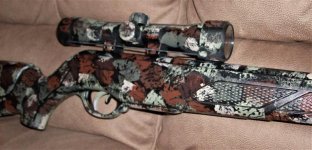
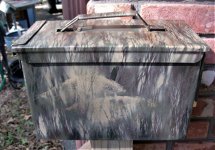
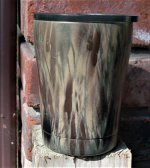
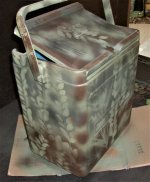
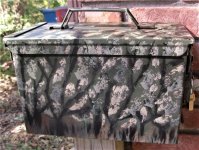
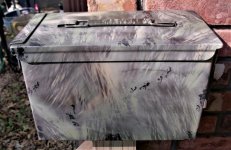
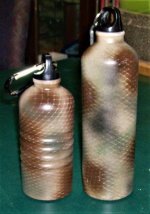
So, for about $30 in initial investment, the spray camo paints may be had at your local Walmart. KT has now painted several long guns, two metal water bottles, a red Coleman Ice chest, 3 ammo cans, and an insulated coffee mug. If there is any interest I will post images of these items in this thread. And tell a bit about the methods used.
Now, do not think His Majesty is painting any very valuable gun or rifle, for I am not, but KT was getting bored with the looks of these particular long guns....and why an ice chest? To make it a bit harder for His Majesty's beer drinking serfs to find KT's Royal Brews!
The Queen has stated, don't set these items down in the Royal Woods, for you surely won't find them!
Anyway it is a fun hobby and helps while away the Royal hours!
Last edited: